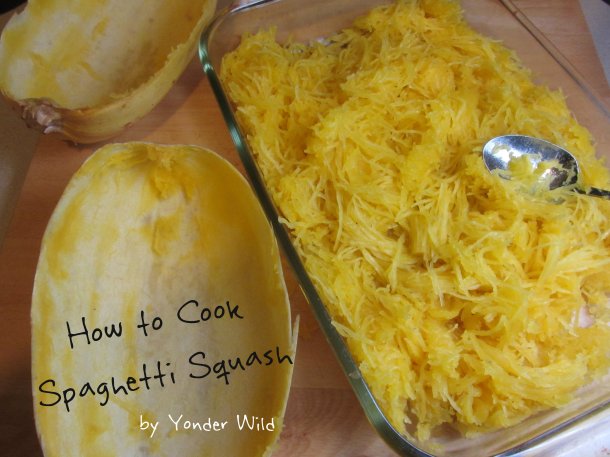
One of my favorite low calorie substitutes is Spaghetti Squash. It is healthy, filling and very adaptable; use it as a base for spaghetti, pizza, or casseroles. This is not a quick cooker, so the trick is to be prepared and cook in advance. There are a variety of ways to cook spaghetti squash, but I prefer to steam bake in the oven. Here’s how I do it….
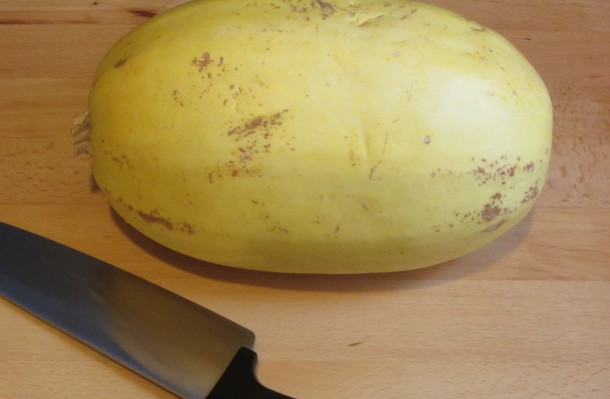
Choose a squash that is firm (with no soft spots), heavy and pale to golden yellow. I like to get a big squash so I can eat on leftovers for days!
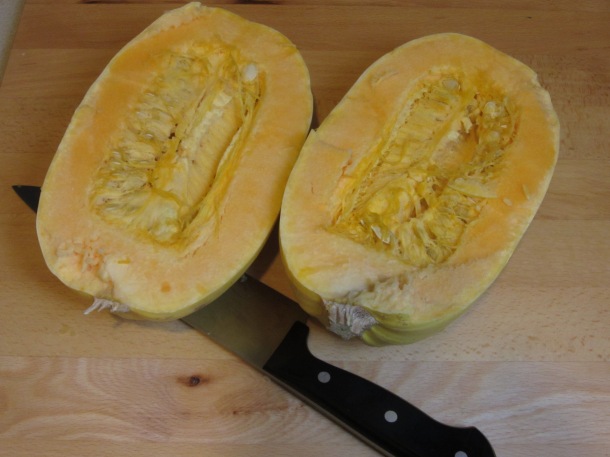
Cut lengthwise in half with a large, sharp knife.
Scoop out the seeds and extra fibers with a large spoon. It will be very similar to scooping out your Jack o’ Lantern at Halloween.
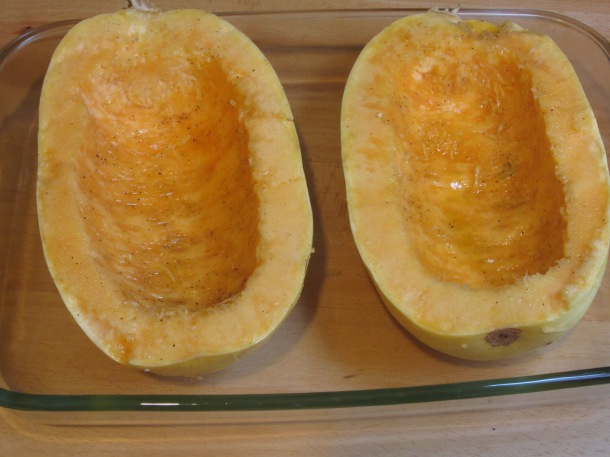
With both halves scooped clean, place (skin side down) in oven safe dish (I usually use a 13×9 glass pan). Rub squash with olive oil (or coat with cooking spray) and sprinkle with salt and pepper.
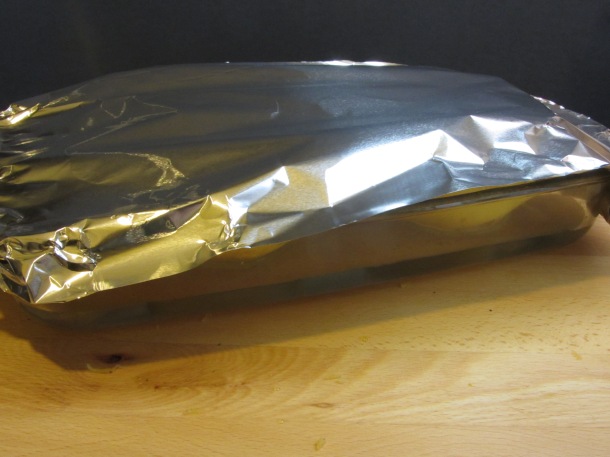
Add about an inch or so of water to the bottom of the baking pan (not on the inside of the squash) and cover with aluminum foil.
Cook in preheated oven of 375 ° for about 45 minutes. The time really depends on the size of your squash. I start checking in after 30 minutes, but it could take up to an hour and 15 minutes. Check by piercing fibers with a knife or fork; a finished squash will be soft and easy to pierce. Try not to overcook; spaghetti squash is not at its best when its all mush.
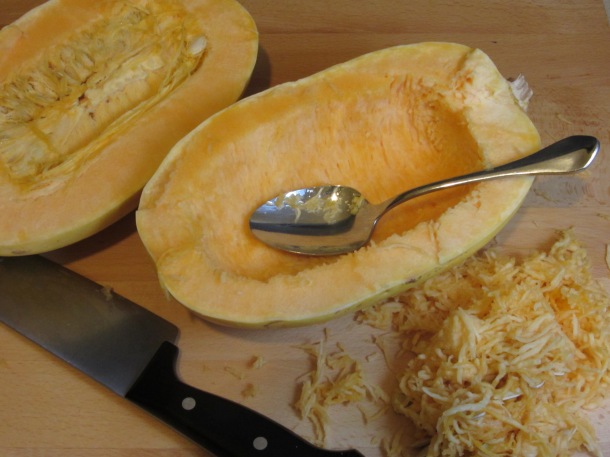
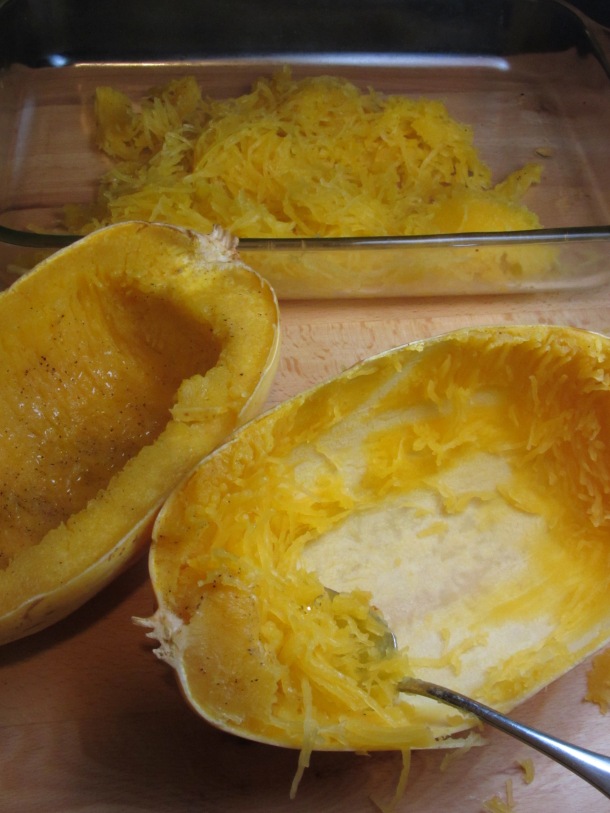
Remove from the oven and let cool slightly before you handle (I will remove it from the water to help this). Next, using a large spoon, scoop out the softened fibers all the way to the rind. You will notice immediately how the fibers separate and look like noodles even when you scoop with a spoon.
Serve with your recipe of choice and enjoy!
I have never tried spaghetti squash and can’t wait for the organic supermarket in town to get in their lot for autumn! I discovered that they stocked them last year but by the time I went back to the store was all sold out – they aren’t readily available in NZ so I guess they get snapped up quick each season. This year, I am ready for ’em :p
Your tutorial will be a godsend when I finally get my hands on one. Thank you!
Glad you like it. Luckily spaghetti squash has a great, long shelf life…so you can stock up when you see it!
Pingback: No more “but it went bad” excuses – how to keep your produce | Stuffed Yet Starving
My technique for the squash – before baking, score the squash in a diagonal pattern, to allow a blended combination of butter, pressed garlic, and fresh cilantro to sink into the fabric of the squash. Yum! Aunt Cookie and I tasted this version in Bermuda at the Hamilton Princess restaurant in 1988.
That sounds really yummy!
Pingback: Spaghetti Squash | jovinacooksitalian
Pingback: No more "but it went bad" excuses - how to keep your produce | Food For Your Cell
Pingback: Perfect Pesto – a Simple Recipe and Storage Idea for Use All Year Long | Yonder Wild
Pingback: Spaghetti Squash Bake | Baking, Making, and Crafting
Pingback: Veggie Harvest Casserole (with Cannellini Beans) | Yonder Wild
I cook Spaghetti Squash in the microwave. Slice, and clean out the seeds, place cut side down in baking dish. Add about 1/4 cup of water and cover with plastic wrap. Leave a corner open for steam to escape. Microwave for 12 minutes, or until tender. I use a microwave with 110 watts. Adjust the time to your microwave.
I am always cautious when it comes to microwaving, especially when plastic wrap is involved, and I prefer to use my oven. That being said, if the time and convenience are a major factor for meals, microwaving is a viable option. Plus, any method that gets people eating more vegetables (like squash) I am for! Thanks for checking out my blog!
Pingback: Grateful for the Harvest – a Fall Garden Update | Yonder Wild
Pingback: Ersättning till spaghetti? | Beccasfitness
I just got some fresh squash and can not wait to try this!! My momma makes this but this will be a first for me. Thanks for showing me how it’s done!!!!!
Awesome…hope yours turns out great! I made some on Sunday and will be eating it in many variations for lunch all week – YUM!